
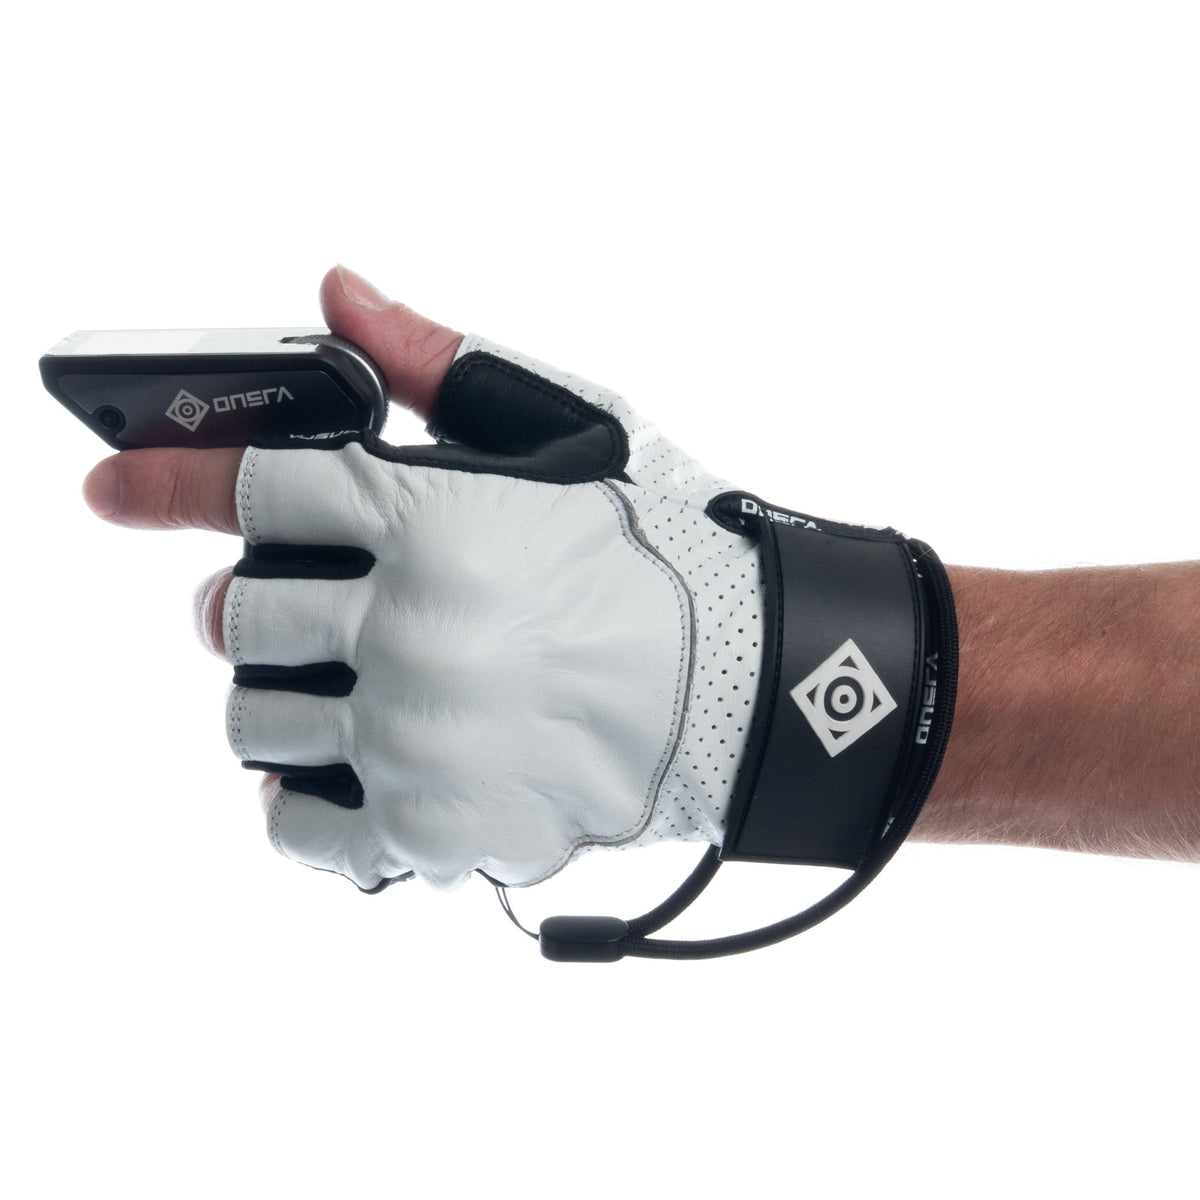
How to Pair Electric Skateboard Remote in 2026: Step-by-Step Guide (Fix Connection Issues Fast)
A dead connection between your electric skateboard and remote can turn an exciting ride into instant frustration. Whether you're setting up a new board or replacing a remote, knowing how to pair an electric skateboard remote correctly saves time and prevents unnecessary stress.
Most pairing problems in 2026 come down to a handful of common causes: wrong power sequence, low battery, interference, or using an incompatible remote. This guide walks you through the reliable process used on modern boards, including ONSRA models.
Why Remote Pairing Matters
Electric skateboard remotes use radio frequency (usually 2.4GHz) to communicate with the Electronic Speed Controller (ESC). A clean pairing delivers smooth throttle response, precise braking, and real-time data like battery level and speed mode. A poor connection can cause lag, dropouts, or safety issues.

Before You Start: Essential Prep
- Fully charge both devices — Low battery is the #1 cause of failed pairing. Even if the remote turns on, weak voltage can prevent a stable handshake.
- Secure the board — Place it on a stand or flip it upside down on a soft surface so the wheels are off the ground. This prevents accidental launch if the throttle engages during pairing.
- Power cycle everything — Turn off both the board and remote completely. Wait 10–15 seconds to clear any previous connection attempts.
Step-by-Step: How to Pair Electric Skateboard Remote
Most modern systems (including ONSRA boards) follow a similar logical sequence:
- Turn on the board first — Look for the ESC indicator light or startup sound.
- Enter pairing mode on the board — Usually by holding the power button for 3–5 seconds until the LED starts flashing rapidly. Some models have a dedicated pairing button near the charge port.
- Turn on the remote — Keep it within 1–2 meters (3–6 feet) of the board.
- Put the remote into pairing mode (if required) — Many remotes pair automatically when near a searching board, but some need a long press on a specific button.
- Wait for confirmation — The board’s LED typically stops flashing and becomes solid. The remote screen (if equipped) will show a connection icon, battery status, or speed mode.
Once connected, test throttle and brake response with the wheels still off the ground. Confirm the direction is correct and inputs feel smooth.
Shop ONSRA Electric Skateboards

Check Compatibility First
Not every remote works with every board. Before attempting to pair:
- Use the original remote or a manufacturer-approved replacement for your exact model.
- If you upgraded your ESC or bought a third-party remote, verify protocol and firmware compatibility.
- ONSRA remotes are optimized for their own boards (Challenger, BLACK Carve, VELAR, etc.), delivering better integration and reliability.
Mismatched hardware is the one issue no button sequence can fix.
Common Reasons Pairing Fails (and Quick Fixes)
- Timing issues — Some ESCs only stay in pairing mode for a short window. Be ready with the remote and act quickly.
- Low battery — Charge fully and retry.
- Interference — Move away from WiFi routers, other esk8 boards, or crowded electronics.
- Memory conflicts — Some systems “remember” old pairings. A full power cycle plus holding the pairing button longer often clears this.
- Firmware version mismatch — Rare on same-brand replacements, but possible after major upgrades.

Detailed Troubleshooting Steps
If pairing still fails:
- Confirm the remote powers on normally and buttons respond.
- Check the board’s ESC lights and startup behavior.
- Perform a full restart: Power off both → wait 30 seconds → repeat pairing sequence.
- Test in a different location to rule out interference.
- Try with another known-working remote (if available) to isolate the problem.
Pay attention to the exact symptoms: no lights, flashing but no connection, or connects then drops — each points to different causes.
Safety Checks After Successful Pairing
Never ride immediately after pairing. Always verify:
- Smooth throttle and progressive braking.
- Correct direction (forward/backward).
- Accurate battery readings on both devices.
- Ride mode settings (start in the lowest mode for safety).
This step is especially important on powerful boards like the ONSRA VELAR or Challenger Belt Drive.
Shop ONSRA Challenger Belt Drive Shop ONSRA VELAR

When to Contact Support
If you’ve charged everything, followed the correct sequence, confirmed compatibility, and still can’t pair — stop troubleshooting and reach out to the manufacturer. Provide your board model, remote version, ESC details, and exact symptoms (lights behavior, error messages, etc.).
Brands like ONSRA are known for strong customer support and readily available replacement parts, making long-term ownership much smoother.
Final Thoughts
Learning how to pair an electric skateboard remote correctly is a small skill that makes a big difference in your riding experience. A stable connection builds confidence and keeps your rides safe and enjoyable.
Take your time during setup, always prioritize safety, and invest in quality components that are designed to work together.
Ready to ride with reliable connection?
View All ONSRA Electric Skateboards Best Beginner Board – Challenger Belt Drive
How to Ride an Electric Skateboard in 2026: Complete Beginner’s Guide (From Zero to Confident)
Electric Skateboard Maintenance Guide 2026: Keep Your Board Fast, Safe & Reliable