
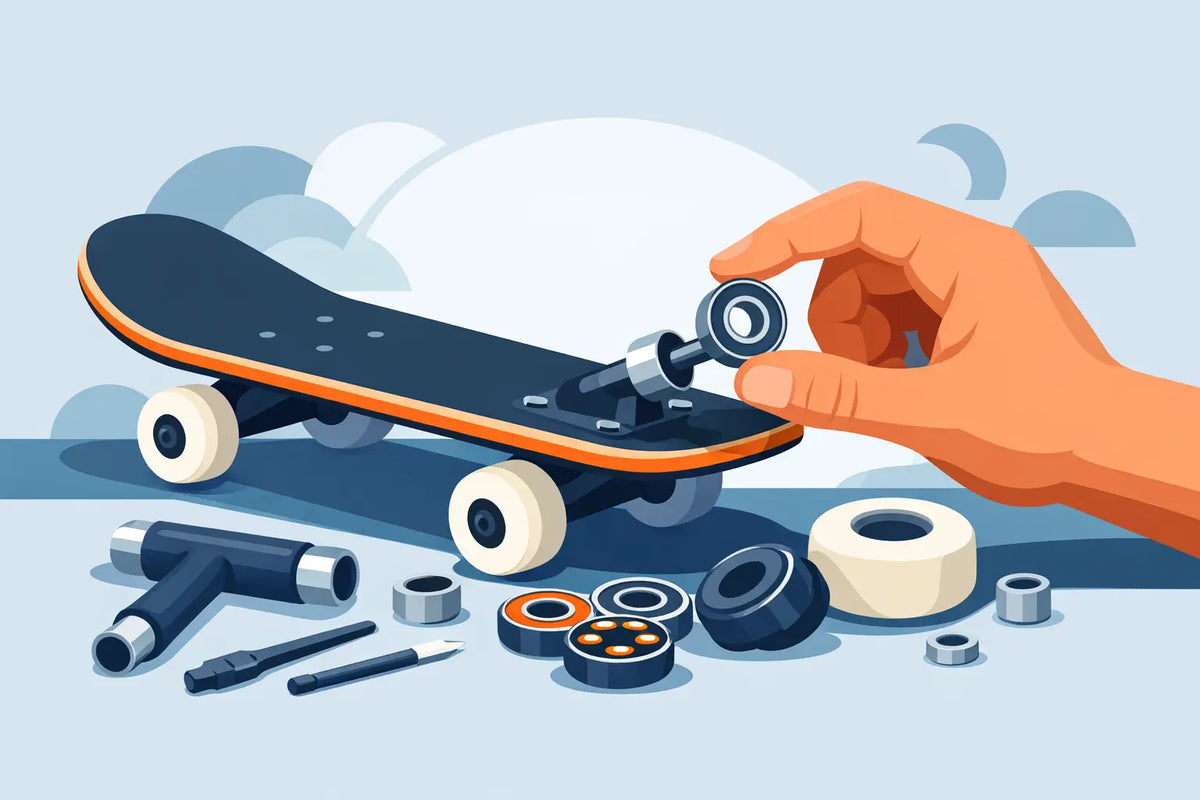
A board that suddenly feels slow, sounds gritty, or refuses to coast cleanly is usually telling you something. To replace skateboard bearings before they damage wheels, reduce range, or turn a smooth carve into a rough ride, you need the right parts, clean working habits, and a quick inspection of the whole wheel assembly.
For electric skateboard riders, bearing condition matters more than most people think. Extra rolling resistance does not just affect push speed. It puts more demand on the drivetrain, reduces usable range, and can make a high-performance setup feel dull under your feet. Bearings are small components, but they carry every mile.
When to Replace Skateboard Bearings
Do not replace bearings just because they are dirty on the outside. A little dust around the shield is normal after real riding. The decision comes down to how they feel, sound, and perform once the wheel is off the board.
Spin each wheel by hand. A healthy bearing should rotate smoothly with no grinding, crunching, or obvious side-to-side play. It does not need to spin forever in the air, especially on an electric skateboard where pulley drag and belt tension affect free-spin. What matters is a consistent, quiet rotation and a solid feel under load.
Replace the bearings if you notice roughness after cleaning, rust around the shields, cracked shields, seized rotation, or looseness in the bearing seat. If the board pulls slightly, vibrates at speed, or has developed a new clicking sound, inspect the bearings along with the wheel cores, axle nuts, spacers, and drivetrain hardware.
Water exposure is the biggest warning sign. Riding through rain, wet streets, or deep puddles can push moisture past bearing shields. Even if they feel acceptable right afterward, corrosion can begin inside the race. If your board has been wet, dry and inspect it promptly rather than waiting for the next ride to reveal the damage.
What You Need Before You Start
Replacing skateboard bearings is straightforward, but forcing parts is how wheel cores and bearing shields get damaged. Work on a clean bench or floor, keep track of hardware, and power off your electric skateboard before removing any wheels.
You will need:
- A skate tool or correctly sized socket for the axle nuts
- A bearing puller, or the truck axle to remove bearings carefully
- New bearings sized for standard 8 mm skateboard axles
- Bearing spacers, if your wheel setup uses them
- A clean cloth and a small nylon brush
Choose Bearings for the Way You Ride
The highest ABEC number on a package is not a guarantee of a better real-world ride. ABEC is a manufacturing tolerance rating, not a complete measure of impact resistance, seal quality, lubrication, or long-term durability.
For performance electric skateboarding, prioritize quality steel or ceramic-hybrid bearings from a trusted parts source, strong shields, reliable lubrication, and a proper fit in your wheel core. Ceramic bearings can offer corrosion resistance and reduced friction in certain conditions, but quality steel bearings are often the smarter value for riders who put in frequent street miles. If you ride in wet, gritty, or high-impact conditions, durability and serviceability matter more than a marketing claim about free-spin time.
How to Replace Skateboard Bearings Step by Step
Start by placing the board upside down on a stable surface. Remove the axle nut and washer, then slide the wheel off the axle. On a belt-drive wheel, remove the wheel carefully without pulling on the belt or forcing the pulley. Take a moment to inspect the axle for dirt, scoring, or corrosion before continuing.
To remove the first bearing, place the wheel loosely back onto the axle so the axle enters only the inner race of the bearing. Angle the wheel slightly and use gentle leverage to lift the wheel away from the truck. The bearing should come out of the wheel without excessive force. Do not pry against the outer wheel lip with a screwdriver. That can gouge the core or deform the bearing shield.
If there is a spacer between the bearings, remove it and set it aside. Then repeat the process for the second bearing. Some spacers fit snugly between the inner races, so a small wiggle may be needed before the second bearing releases.
Clean the bearing seat inside the wheel with a dry cloth. Remove grit from the axle as well. If you are transferring pulleys to new rear wheels or reinstalling a drive wheel, inspect the pulley teeth and bolt holes for wear before assembly. A clean bearing installed into a dirty wheel core will not stay smooth for long.
Place the first new bearing squarely over the axle, then press the wheel straight down onto it. The truck axle acts as a controlled press and helps keep the bearing aligned. Never hammer a bearing into a wheel. If it will not seat with firm, even pressure, stop and check whether it is crooked or whether debris is blocking the bearing seat.
Insert the spacer if your setup uses one. Then press the second bearing into the opposite side of the wheel. Once both bearings are seated, reinstall the wheel on the axle with the washer and axle nut. Tighten the nut until the wheel has no noticeable side play but still rotates freely. Overtightening can preload the bearing and create unnecessary resistance.
Repeat the process for each wheel. For belt-drive systems, confirm that the belt runs centered on the pulley and that tension is within the board manufacturer's recommended range. A bearing replacement is also a good time to check motor mounts, pulley set screws, and wheel hardware. High-torque riding exposes small setup errors quickly.
Spacers, Speed Rings, and Wheel Alignment
Bearing spacers are not optional decoration. When correctly sized, they support the inner races when the axle nut is tightened. This helps prevent side loading, keeps bearings aligned, and improves durability under hard carving and acceleration.
Speed rings, also called axle washers, sit between the bearing and the truck hanger or axle nut. They reduce friction between moving components and help the wheel sit cleanly on the axle. If yours are bent, deeply worn, or missing, replace them while servicing the bearings.
After installation, spin every wheel and gently rock it side to side. A slight amount of normal movement may come from bushings or drivetrain components, but the wheel itself should not clunk on the axle. Check that the wheel clears the deck, truck, and belt enclosure through your full turning range. Larger wheels and deep carves demand more clearance than a standard street setup.
Why New Bearings Sometimes Still Feel Slow
Fresh bearings do not automatically solve every rolling issue. On electric boards, belt tension that is too tight can make rear wheels feel resistant even with new bearings. Misaligned pulleys, worn belts, damaged wheel cores, overtightened axle nuts, or a bent axle can create similar symptoms.
Front and rear wheels may also feel different by design. Hub-drive systems add motor resistance at the rear, while belt-drive systems have pulley and belt drag. Judge the result by smoothness, noise, and ride behavior rather than expecting every wheel to spin identically in a standstill test.
If vibration remains after replacement, inspect the tires or wheels for uneven wear, debris lodged in the tread, loose pulley bolts, and damaged bearings in the other wheels. Address the source instead of continuing to ride through it. Small vibrations become expensive problems when they are allowed to work on hardware over time.
Keep Your New Bearings Working Longer
The best bearing maintenance is avoiding contamination in the first place. Do not pressure-wash wheels or spray water directly into bearing shields. Wipe down your board after dusty rides, remove trapped gravel from around the wheel and pulley area, and store it somewhere dry.
For riders who regularly encounter wet roads, dirt paths, or winter grime, plan more frequent inspections. A commuter board may need attention based on weather exposure, while a fair-weather carving setup can go much longer between services. Mileage is useful, but conditions tell the real story.
Quality replacement parts are part of keeping a premium board performing like one. Whether you ride an ONSRA board or another serious setup, install bearings carefully, torque the axle hardware correctly, and treat any new noise as a signal to inspect rather than ignore. Your next fast, quiet carve starts at the wheels.
Can Eskates Climb Hills? What Actually Matters
How to Charge Electric Bike Batteries Safely