
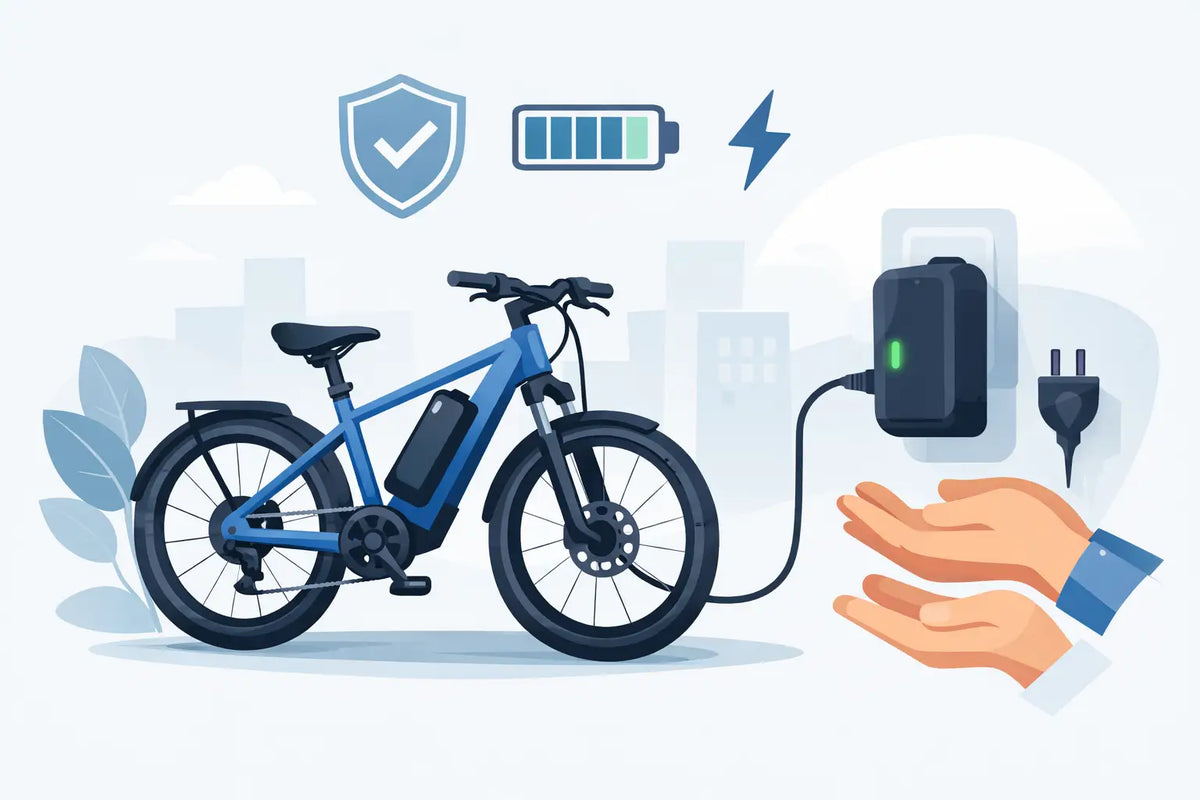
A long ride can end at the charger, but battery life is decided by what happens next. Knowing how to charge electric bike batteries correctly protects the most valuable component on your setup, preserves usable range, and reduces the risk of avoidable damage. The process is simple, but the details matter: use the right charger, manage temperature, and give the pack a clean, stable place to charge.
Start With the Right Charger and Battery
Your e-bike battery management system, or BMS, controls how the pack accepts and balances charge. It is designed around a specific battery voltage, cell configuration, charging current, and connector. That is why the charger supplied with your bike is always the right starting point.
Do not assume that two chargers with the same plug are interchangeable. A charger with the wrong voltage can damage the battery or fail to charge it. A higher-current charger may seem like a shortcut, but only use one if the bike manufacturer specifically approves it. Fast charging creates more heat, and heat is one of the main forces that accelerates lithium-ion battery wear.
Before each charge, inspect the charger cable, connector, and battery port. Look for bent pins, cracked insulation, corrosion, loose fittings, or debris. A connector should seat firmly without force. If you see damage, stop there. A replacement charger or port is far cheaper than risking a battery pack.
How to Charge Electric Bike Batteries Step by Step
Charge in a dry, well-ventilated area on a hard, nonflammable surface. A garage workbench, concrete floor, or clear tile area is a better choice than a bed, couch, carpet, or crowded entryway. Keep the charging area clear of fuel, aerosol cans, cardboard, loose clothing, and other flammable material.
First, turn the bike off. If your battery is removable, take it off the frame when practical. Charging off-bike makes it easier to inspect the pack and keeps the bike out of a high-traffic charging zone. Some bikes are designed for on-bike charging, though, so follow the instructions for your specific model.
Plug the charger into the battery first, then connect it to the wall outlet if your charger manual calls for that order. Many systems work either way, but following the manufacturer sequence minimizes accidental arcing at the connector. Use a properly grounded wall outlet instead of a questionable extension cord or overloaded power strip.
Watch the charger indicator during the first few minutes. Most chargers show one color while actively charging and another when the battery is full. The battery and charger may become mildly warm. They should never become uncomfortably hot, smell unusual, swell, hiss, or make popping sounds. Disconnect power immediately if any of those signs appear, then contact qualified support before using the equipment again.
When charging is complete, unplug the charger from the wall and disconnect it from the battery. Replace the port cover if your bike has one. Do not leave the charger connected for days just because the BMS stops active charging. Quality systems prevent overcharge, but there is no performance benefit to keeping a full pack on the charger indefinitely.
Charge at the Right Temperature
Lithium-ion cells work best within a moderate temperature range. Let the battery return to room temperature after a hard ride, especially after a steep climb, fast commute, or hot summer session. Charging a warm pack immediately can add stress when the cells are already carrying heat from discharge.
Cold weather demands even more discipline. Never charge a battery that is below freezing unless the manufacturer explicitly states that it is safe to do so. Charging cold lithium-ion cells can cause permanent internal damage, even when the pack appears to work normally afterward. Bring a cold battery indoors, let it warm naturally to room temperature, and then charge it.
The same rule applies after wet riding. A weather-resistant battery is not an invitation to charge it while wet. Wipe down the case, check that the charging port is dry, and allow moisture around seals and connectors to evaporate. Never use a hair dryer, direct heater, or open flame to speed up the process.
Full Charges Are Fine, but Daily Habits Matter
For most riders, charging to 100% before a long commute, a weekend trail day, or a range-focused ride is completely reasonable. You bought an e-bike to use its capability. The trade-off is that lithium-ion batteries experience more stress when they sit at very high states of charge for long periods.
If you have a predictable short commute and your system offers a charge limit, setting it around 80% to 90% can be a smart daily habit. You retain plenty of practical range while reducing time at maximum voltage. Not every e-bike display, app, or charger supports a charge limit, so do not try to create one with improvised timers or third-party electronics that are not approved for your battery.
Avoid running the battery to empty on every ride, too. The BMS protects against deep discharge, but repeatedly reaching shutdown leaves little margin for unexpected headwinds, cold temperatures, hills, or battery aging. Recharging when the display reaches roughly 20% to 30% is a practical target for riders who want consistent performance.
Range estimates will move around. Rider weight, tire pressure, assist level, cargo, terrain, wind, and temperature all change consumption. A battery that seems to drain faster in winter is not automatically defective. Check the conditions before judging the pack.
Never Charge Unattended or Overnight
Modern e-bike batteries use multiple layers of protection, but charging still deserves active supervision. Stay nearby or check on the battery regularly. Overnight charging is convenient, yet it leaves a powered battery unattended for hours and often means it remains full longer than necessary.
This is not about treating every battery as a hazard. It is about using performance equipment with the same judgment you bring to tire pressure, brake checks, and helmet fit. Use certified electrical equipment, charge in a controlled space, and give the process your attention.
Avoid charging in direct sun, inside a hot vehicle, or in a location where children or pets can pull on cables. If you must use an extension cord, use a heavy-duty, grounded cord rated for the charger load and keep the connection dry. A permanent wall outlet is still the better setup.
Store the Battery for Weeks, Not Days
If the bike will sit for more than a couple of weeks, do not store the battery empty or fully charged. Aim for approximately 40% to 60% charge, remove the battery from the bike if possible, and store it indoors in a dry, temperature-stable place.
Check the charge level every one to three months. Storage drain varies by battery design, temperature, and electronics, but a neglected pack can eventually drop low enough to enter protection mode or suffer damage. Bring it back into the mid-range when needed rather than topping it to 100%.
For long-term ownership, keep the battery’s serial information and proof of purchase in a safe place. Warranty support and accurate replacement compatibility depend on knowing exactly which pack and charger belong to your bike.
Know When to Stop Charging
A battery should not be used or charged after a serious crash, water immersion, visible swelling, a melted connector, or a sharp chemical smell. Set it away from combustible materials without handling it more than necessary, and contact the manufacturer or a qualified battery service provider for guidance.
Do not open a battery enclosure, bypass the BMS, splice charger wires, or attempt cell-level repairs. Premium e-bike packs contain high energy in a compact housing. Proper diagnosis requires the right tools, replacement parts, and technical knowledge.
A disciplined charging routine takes only a few extra minutes, but it keeps your bike ready for the rides that matter. Set up one clean charging spot, use equipment built for your exact battery, and let smart ownership carry the same weight as hard riding.
How to Replace Skateboard Bearings Correctly
Electric Bike Sizing Guide for Better Control