
A brake lever pulling close to the grip at 25 mph is not a minor annoyance. It is a signal to stop riding and inspect the system. Learning how to tighten ebike brakes starts with identifying what has actually changed: cable tension, pad wear, a shifted caliper, contaminated pads, or a hydraulic issue. The correct adjustment restores controlled, predictable stopping power. The wrong one can create brake rub or hide a part that needs replacement.
First, Identify Your Ebike Brake System
Most performance ebikes use either mechanical disc brakes or hydraulic disc brakes. They look similar at the rotor, but their adjustment process is different.
Mechanical brakes use a steel cable running from the lever to the caliper. As the cable stretches slightly with use or the pads wear down, the lever can travel farther before the brake bites. Cable tension can be adjusted at the barrel adjuster, usually located where the cable enters the lever or caliper.
Hydraulic brakes use fluid in a sealed hose. There is no brake cable to tighten. Most hydraulic systems automatically compensate for normal pad wear, so a soft lever, inconsistent bite point, or lever that reaches the bar may indicate air in the line, a fluid leak, worn pads, or an improperly installed wheel. Trying to solve that by turning random bolts is not the move.
Before adjusting anything, confirm the wheel is fully seated in the dropouts or axle mounts and the axle or quick-release is properly secured. A wheel that is not seated squarely can make a perfectly good brake look badly misaligned.
What You Need Before You Tighten Ebike Brakes
Work with the bike off, supported securely, and with the motor system powered down. Keep your hands and cleaning products away from the rotor and pad surfaces. Oil, chain lube, and general-purpose spray lubricants can permanently reduce braking performance.
For a basic inspection and adjustment, have these on hand:
- The correct Allen keys for your caliper and lever hardware
- A clean rag and isopropyl alcohol for rotor cleaning
- A flashlight to inspect pad thickness and caliper alignment
- A torque wrench if you are loosening or tightening caliper, rotor, or axle hardware
- Replacement brake pads if the friction material is worn thin
Tighten Mechanical Ebike Brakes at the Barrel Adjuster
If your ebike has mechanical disc brakes and the lever feels too loose, begin with the barrel adjuster. This is the cleanest way to take up small amounts of cable slack.
Turn the barrel adjuster counterclockwise one or two clicks at a time. This effectively pulls more cable through the system, bringing the pads closer to the rotor and reducing lever travel. Squeeze the lever after each small adjustment. You want firm engagement before the lever approaches the grip, but you do not want the pads dragging against the rotor when the lever is released.
Spin the wheel after each change. A faint, occasional tick can come from a slightly warped rotor, but constant rubbing means you have added too much tension or the caliper needs alignment. Back the barrel adjuster off slightly if the wheel no longer spins freely.
If the barrel adjuster is near its limit, reset it by turning it clockwise most of the way in. Then loosen the cable anchor bolt at the caliper, pull the cable through to remove excess slack, retighten the anchor bolt to specification, and fine-tune with the barrel adjuster. This gives you useful adjustment range for future pad wear.
Some mechanical calipers also have an inner-pad adjuster. This moves the fixed pad closer to the rotor. Adjust it in small increments, checking wheel spin as you go. The goal is even pad clearance, not the tightest possible setting.
Align a Disc Brake Caliper to Stop Rotor Rub
A caliper can shift after wheel removal, rough trail riding, transport, or a minor crash. When that happens, a properly tensioned brake can still rub badly.
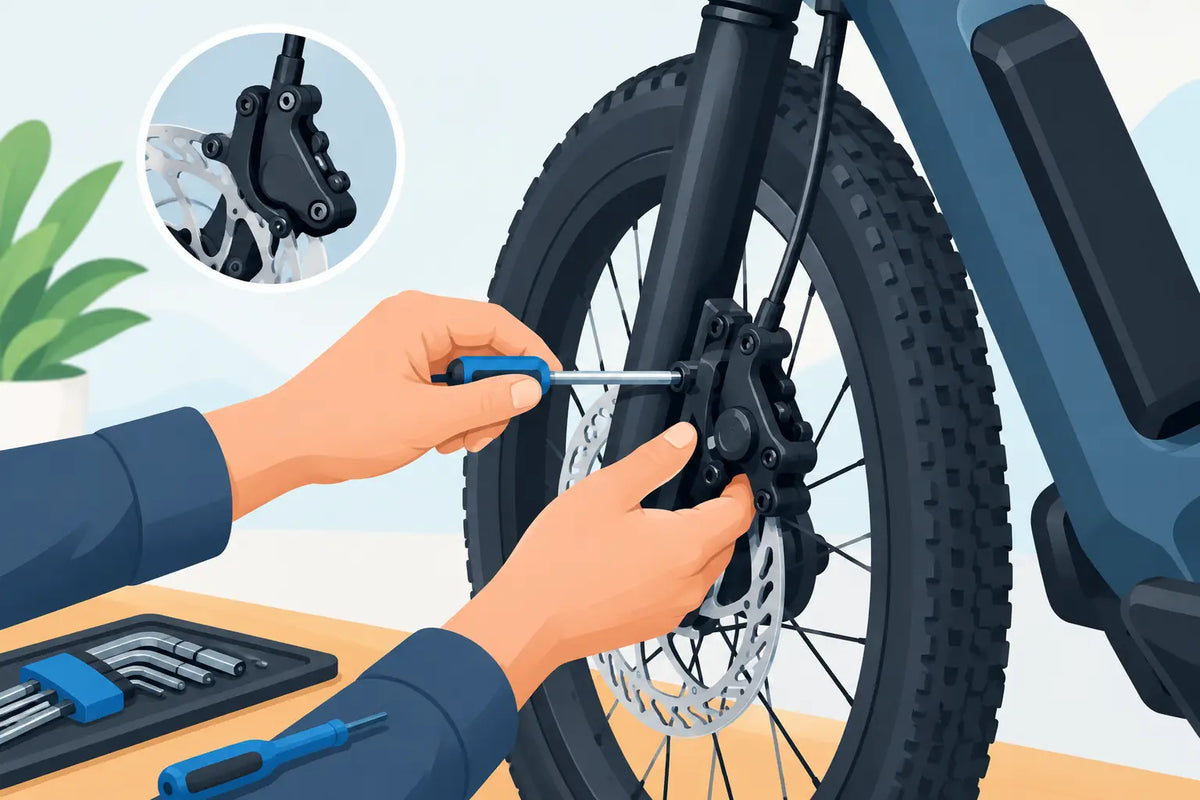
Start by loosening the two caliper mounting bolts just enough that the caliper can move side to side. Squeeze and hold the brake lever firmly. While holding the lever, tighten the mounting bolts evenly to the specified torque. Release the lever and spin the wheel.
This method centers many calipers effectively, but it is not magic. If the rotor still rubs, look through the caliper from above or below and inspect the gap on both sides of the rotor. Make tiny manual caliper adjustments until the rotor runs through the center without contact.
Do not bend a rotor unless you know it is the source of the rub. A rotor that wobbles side to side at one point may be slightly bent, while continuous rubbing usually points to caliper alignment or pad adjustment. Rotor truing requires care, because a contaminated, damaged, or deeply grooved rotor is better replaced than forced back into service.
Hydraulic Brakes: Do Not Try to “Tighten” the Lever
Hydraulic brakes are built for consistent power and modulation, especially on heavier, faster ebikes. If the lever feels good but sits too far from your fingers, use the lever reach adjustment if your brake model includes one. This changes lever position, not hydraulic pressure, and is useful for riders with smaller hands or a preferred one-finger braking position.
If the lever suddenly feels spongy, pulls to the bar, or changes feel from one ride to the next, inspect the system before riding. Check the hose fittings, caliper, and lever for fluid residue. Look at the pads and rotor. A fluid leak or air in the system requires proper service, usually a brake bleed with the correct fluid type and procedure for that brake.
Do not mix mineral oil and DOT fluid. They are not interchangeable, and using the wrong fluid can damage seals and compromise the brake. If you are not already comfortable bleeding hydraulic brakes, this is a smart job for a qualified bike technician.
Check Pad Wear Before Chasing Adjustments
Brake adjustments cannot compensate for pads that are worn out. Remove the wheel or inspect through the caliper opening and look for remaining friction material. The pad backing plate is metal. If the braking surface is close to that plate, replace the pads immediately.
Worn pads commonly produce longer lever travel, reduced bite, noise, and poor control on descents. On an ebike, they can wear faster than riders expect because of higher average speeds, added vehicle weight, cargo, and repeated hard braking in traffic.
When installing new pads, clean the rotor with isopropyl alcohol and avoid touching the braking track with bare fingers. Then bed the pads in properly. In a safe, open area, accelerate to a moderate speed and make repeated controlled stops without locking the wheel. This transfers an even layer of pad material to the rotor and builds the strong, consistent bite you expect from a dialed setup.
Test Braking Before You Ride at Speed
After any brake work, test the bike while stationary. Pull each lever firmly and confirm it does not reach the handlebar. Check that the caliper bolts, axle hardware, and cable anchor bolt are secure. Spin both wheels to confirm they rotate freely with no heavy drag.
Then take a low-speed test ride in a clear area. Test the front and rear brakes independently, then together. The bike should stop in a straight line, the levers should engage predictably, and there should be no grinding, pulsing, or sudden loss of power.
If braking still feels weak after adjustment, stop troubleshooting by feel alone. Pads may be glazed or contaminated, the rotor may be below thickness spec, a cable housing may be damaged, or the hydraulic system may need a bleed. Brakes are not a component to push through until the next ride.
A fast ebike deserves brake performance that feels equally confident. Give the system a quick check before demanding rides, address changes early, and your controls will stay sharp when speed, terrain, and traffic leave no room for hesitation.
Ebike Theft Prevention That Actually Works
Electric Bike Protective Gear That Earns Its Place