
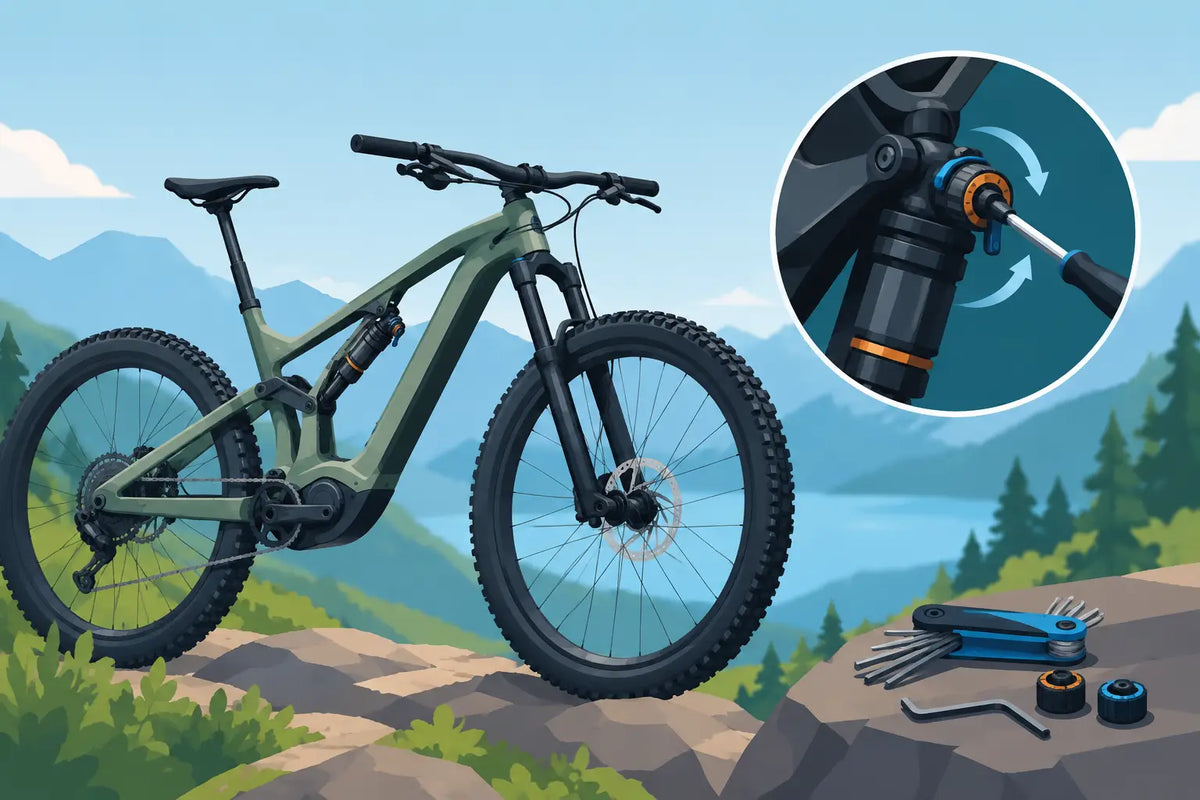
A fast e-bike can have premium suspension and still ride poorly if the setup is wrong. Too soft, and it wallows through berms, burns travel on climbs, and dives under braking. Too firm, and it skips across roots, loses tire contact, and beats up the rider. This ebike suspension tuning guide gives you a repeatable setup process built around traction, control, and the way you actually ride.
Suspension tuning is not about chasing a single perfect setting. Rider weight, terrain, tire casing, speed, riding position, and loaded gear all change the answer. Start with a balanced baseline, then adjust one variable at a time until the bike feels planted rather than vague.
Start With the Right Baseline
Before touching adjusters, confirm the basics. Suspension performance begins with a fork and shock that are serviced, free of leaks, and moving smoothly through their travel. Check that axle hardware, headset, pivot bolts, and wheel bearings are correctly tightened. A loose headset or worn pivot can feel exactly like poor damping.
Set tire pressure before tuning suspension. Tires are the first suspension element and have a major effect on grip, vibration control, and bottom-out resistance. If pressure is too high, the bike will deflect off small impacts no matter how carefully the fork and shock are set. If it is too low, sidewall roll and rim strikes can make the bike feel unstable.
Use your normal riding kit, including a hydration pack or tools if you carry them. On a powerful e-bike, that extra weight is not trivial. Your suspension needs to support the rider and equipment that will actually be on the bike, not a lighter version of you standing in the garage.
Ebike Suspension Tuning Guide: Set Sag First
Sag is the amount the suspension compresses under your neutral riding weight. It determines ride height, which affects steering, stability, climbing traction, and how much travel remains for impacts. Set it before rebound or compression. Everything else depends on it.
For most trail and all-mountain e-bikes, a practical starting point is around 15 to 20 percent sag in the fork and 25 to 30 percent at the rear shock. Enduro-focused riders may run slightly more rear sag for grip and rough-terrain composure, while riders who prioritize pedal support or smoother terrain may prefer slightly less.
For an air fork, inflate to the manufacturer’s starting pressure for your weight, cycle the fork through part of its travel several times, then reset the O-ring at the dust wiper. Carefully step onto the bike in a neutral standing position. Do not bounce, grab the brakes hard, or lean heavily on one side. Step off gently and measure the O-ring position against total travel.
The rear shock follows the same process, although measuring sag is usually easier with a helper. Use the sag indicator on the shock body if equipped. Add air to reduce sag and raise ride height. Remove air to increase sag and improve small-bump compliance. Make changes in small increments, usually 5 to 10 psi at a time, then cycle the shock before rechecking.
Coil-sprung suspension uses spring rate rather than air pressure. If you need excessive preload to reach your target sag, the spring is too soft. If there is little or no preload and the bike still has too little sag, the spring is too firm. Preload is for fine adjustment, not a substitute for the correct spring rate.
Check Front-to-Rear Balance
Numbers are useful, but balance matters more. On level ground, your bike should feel centered in a neutral attack position. If the rear sits too low, the front can feel tall and wander on climbs. If the fork rides too low, the bike may feel nervous on steeper descents and harsh through square-edge hits.
E-bikes carry more mass than analog mountain bikes, often low in the frame but still significant when accelerating, braking, and landing. A balanced setup keeps that mass from overwhelming either end of the bike. Do not automatically add air because the bike is heavy. Set sag correctly first, then use damping to manage movement.
Dial Rebound for Tire Contact
Rebound controls how quickly the suspension extends after it compresses. It is one of the biggest contributors to a composed, confidence-building ride.
If rebound is too fast, the fork or shock snaps back after impacts. The bike can feel springy, nervous, or as if it is kicking off the ground. On repeated bumps, fast rebound may make the rear wheel buck forward or cause the front tire to lose precision.
If rebound is too slow, suspension packs down. It cannot recover between consecutive hits, so it rides lower and lower in the travel. The bike becomes harsh, loses usable travel, and may feel glued down rather than controlled. This is especially noticeable on braking bumps, rock gardens, and rapid root sections.
Start near the middle of the rebound range. Ride a short repeatable section with a few bumps, a corner, and a braking zone. If the bike feels like it rebounds sharply after each impact, slow rebound by one or two clicks. If it feels increasingly harsh through repeated hits or fails to return to ride height, speed it up by one or two clicks.
Tune fork and shock separately, but listen to what the bike does as a system. A rear shock that rebounds much faster than the fork can pitch the rider forward. A fork that rebounds too slowly can make steering feel heavy and reduce confidence when the trail gets busy.
Use Compression With Restraint
Compression damping resists suspension movement during compression. Low-speed compression affects gradual rider inputs such as braking, cornering, pedaling, and body weight shifts. High-speed compression manages faster shaft movements from square-edge rocks, drops, and hard landings. “High-speed” describes suspension speed, not bike speed.
Begin with compression fully open or close to the manufacturer’s baseline. Add low-speed compression a click or two at a time if the bike dives excessively under braking, wallows through berms, or feels unsupported when pushing into turns. The goal is a stable platform, not a locked-out feeling.
Too much low-speed compression reduces grip on off-camber roots and chattery climbs. It may feel supportive in a parking-lot test but become tiring and unpredictable on real trail. On an e-bike, riders often add too much compression trying to control the bike’s weight. That usually trades traction for a firmer feel.
High-speed compression should be approached even more carefully. Add it only if you are using travel too easily on hard impacts despite correct sag and appropriate progression. Too much can create sharp feedback through the bars and pedals, while also making the suspension deflect instead of absorb.
If your fork or shock has volume spacers, they change spring progression rather than damping. More volume spacers make the end of the stroke firmer, allowing good small-bump sensitivity while resisting deep bottom-outs. They are often a better answer than excessive air pressure or compression damping when you regularly use full travel too abruptly.
Test on Trail, Not in the Driveway
A parking-lot bounce test can reveal an obvious mistake, but it cannot tune an e-bike. Choose a familiar loop that includes your typical terrain. Make one change, ride the same section, and pay attention to a specific behavior: brake dive, mid-corner support, rear-wheel traction, harshness on chatter, or bottom-out control.
Use the O-rings after each run. On a hard ride, it is normal to use most of the available travel. Reaching full travel occasionally on a big impact is not a failure. Bottoming harshly on ordinary trail features means you need more support, progression, or better body positioning. Never using the final portion of travel may mean the setup is overly firm, unless your terrain simply does not demand it.
Keep a note on your phone with pressure, sag, rebound clicks, compression settings, tire pressure, trail conditions, and impressions. A few lines of data prevent the common problem of making several changes, getting lost, and being unable to return to the setup that worked.
Common Setup Errors That Cost Control
Avoid changing air pressure, rebound, and compression at the same time. You will not know which adjustment created the improvement or problem. Also avoid copying a friend’s settings. Similar rider weight does not mean similar riding style, terrain, tire choice, or preference.
Do not use suspension settings to cover up a mechanical issue. A dry shock bushing, contaminated fork internals, loose linkage, or damaged tire can produce a harsh, unstable ride that no clicker adjustment will fix. Regular lower-leg and air-can service keeps damping consistent and protects expensive components.
Finally, revisit your settings when conditions change. Wet roots, loose-over-hard terrain, winter layers, a heavier pack, or a new tire can all justify a small adjustment. The best setup is not static. It is a controlled baseline you understand well enough to adapt.
A properly tuned e-bike should feel calm when speed rises, active when the trail gets rough, and predictable when you load the tires into a turn. Start with sag, make deliberate changes, and let tire grip and rider confidence be the final test.
How to Clean Skateboard Bearings the Right Way
Is a Four Year Warranty Worth It for E-Riders?