
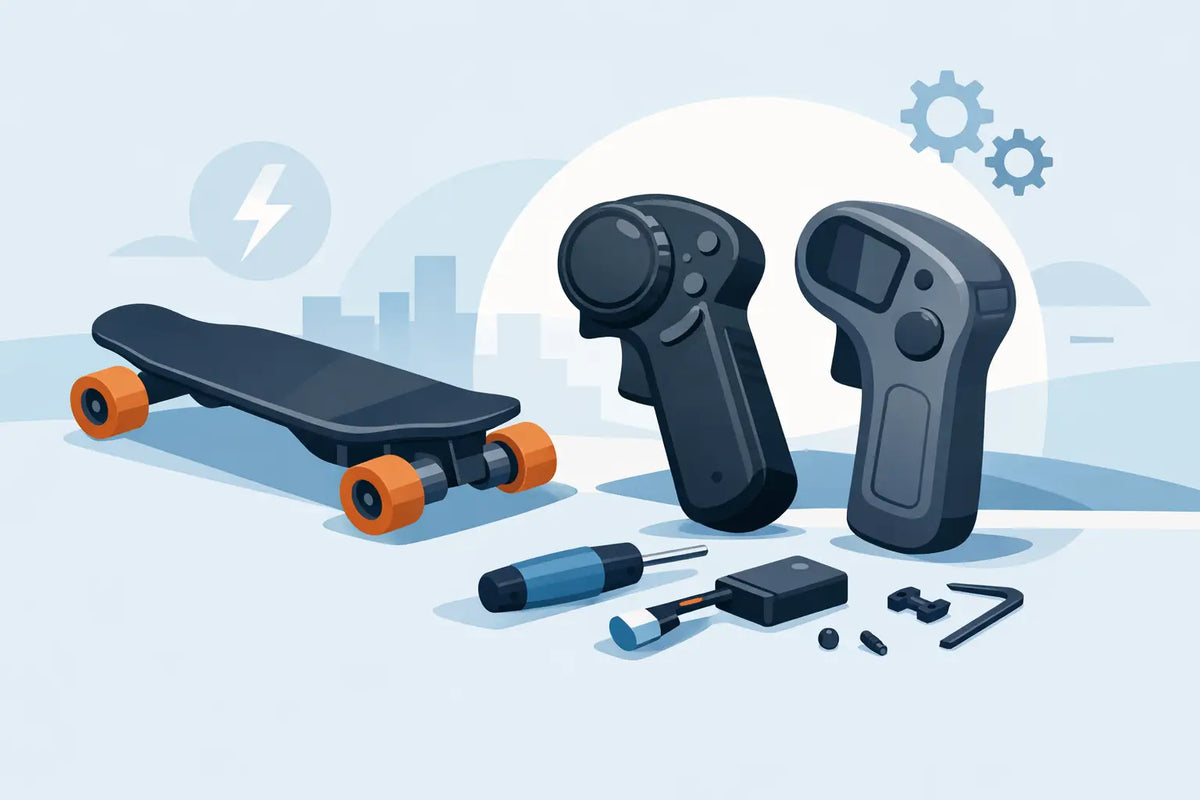
A dead remote can turn a performance board into a very expensive push skateboard. Before ordering an electric skateboard remote replacement, slow down and identify exactly what failed. The remote may be the problem, but a low board battery, damaged receiver, loose ESC connection, or a pairing issue can produce the same frustrating result.
For serious riders, the right fix is not simply finding a handheld controller that looks similar. Your remote is the command center for throttle, braking, ride modes, reverse, and sometimes board telemetry. Compatibility, pairing procedure, and brake calibration all matter when you want predictable control at speed.
Start by Confirming the Remote Is the Problem
Check the simple causes first. Charge the remote fully with a known-good cable and inspect its charging port for dirt, bent contacts, or moisture. Turn the board on, then power on the remote and watch for any screen activity, LED pattern, vibration, or pairing indicator. A blank display does not always mean the remote is dead - some remotes need a few minutes on charge before they wake up.
Next, inspect the physical controls. A sticky trigger, damaged thumb wheel, cracked housing, or loose trigger return can make a remote unsafe even if it still powers on. Do not keep riding with inconsistent throttle response or brakes that engage unpredictably. A remote that cuts out under load is a safety issue, not an inconvenience.
If the board powers up normally but will not respond, check whether its receiver and electronic speed controller are showing normal startup behavior. Error beeps, blinking lights, or an abnormal startup sequence point to a board-side issue. If you have access to an identical, working remote, testing it can quickly separate a remote fault from a receiver fault.
Why Universal Remotes Usually Are Not Universal
An electric skateboard remote replacement needs to match more than the shape of the transmitter. Most boards use a specific communication protocol between the remote and receiver. Even if two remotes operate in the same frequency range, they may use different firmware, pairing methods, channels, trigger logic, or encrypted signals.
The electronic speed controller also expects a particular input range. Throttle and braking signals must be interpreted correctly or the board can feel overly aggressive, weak, delayed, or impossible to control. A random aftermarket remote may pair with a generic receiver but still be a poor match for the ESC that drives your motors.
This is why the safest choice is an original replacement remote designed for your exact board model and generation. Confirm the model name, production version, ESC type, and remote version before ordering. Product photos can be useful, but labels, part numbers, and support documentation are more reliable than appearance alone.
There are exceptions. Some enthusiast boards use proven third-party control systems with separately available remotes and receivers. In that case, replacing the complete matched remote-and-receiver kit can be a legitimate upgrade or repair path. It is more involved than swapping a remote, though, and it may require opening the enclosure, routing antenna wires correctly, and recalibrating the system.
Match the Features You Actually Use
A compatible remote should preserve the functions your board was built around. That can include forward and reverse selection, speed modes, cruise control, battery readout, odometer data, or adjustable acceleration and braking curves. Losing these features may not stop the board from rolling, but it changes the ownership experience.
Pay close attention to braking behavior. A remote intended for a lower-powered commuter board may not offer the modulation needed for a high-torque dual-motor or all-terrain setup. Likewise, a remote with only aggressive acceleration settings can make a powerful board harder to control in traffic, on loose terrain, or while carving.
Electric Skateboard Remote Replacement: Pair It Safely
Once you have the correct electric skateboard remote replacement, pairing is the critical step. Use the manufacturer procedure for your board rather than guessing at button combinations. Pairing methods vary, but most require the board and remote to be powered on in a specific order, followed by a pairing button press or a brief trigger input.
Keep the drive wheels off the ground during the first connection. A work stand is ideal; otherwise, turn the board upside down on a stable, protected surface. Remove anything that could be pulled into the wheels, and keep hands, clothing, and pets clear of the drivetrain.
After pairing, do not head straight for a fast ride. Test throttle gradually and confirm that wheel rotation matches the expected direction. Then test braking at very low speed. If the board accelerates when you expect it to brake, or the trigger direction feels reversed, stop immediately and revisit the pairing, remote settings, and ESC configuration.
A proper post-pairing check should include the following:
- Confirm the board connects consistently after both units have been powered off and restarted.
- Verify each ride mode, forward/reverse function, and display readout that applies to your model.
- Test gentle acceleration, neutral trigger position, and progressive braking with the wheels elevated.
- Inspect the remote battery indicator and board battery reading for believable values.
When Replacing the Receiver Makes More Sense
If an exact remote is discontinued or unavailable, replacing the remote and receiver as a matched set may be the better solution. This approach gives you a known communication link, but it is not a universal plug-and-play job. The new receiver must be compatible with the ESC, battery voltage, motor configuration, and enclosure space.
Receiver installation can also affect water resistance and reliability. Poorly routed wiring can rub against moving components, strain solder joints, interfere with the antenna, or prevent the enclosure from sealing properly. On a premium board, cutting corners here can create a bigger repair than the original remote failure.
Riders comfortable with electronics may handle a documented system swap, but many cases are better left to experienced service support. The goal is not just to make the wheels spin. It is to retain smooth acceleration, reliable braking, clean cable management, and the durability expected from a hard-ridden setup.
Protect Your New Remote From the Same Failure
Remotes live a hard life. They get dropped at curbs, exposed to sweat and rain, left in hot cars, and squeezed into pockets with keys. A silicone cover, wrist strap, or dedicated storage pouch can prevent the most common damage without changing the feel of the controls.
Avoid charging a wet remote, even if it appears to work. Let it dry fully at room temperature, inspect the port, and watch for unusual heat during the next charge cycle. If the casing is cracked after a crash, replace it or have it inspected. Water can enter through a tiny impact fracture and corrode the electronics long after the incident.
Battery care matters, too. Recharge the remote before it sits empty for months, and use the correct charging cable and power source. A remote battery is small, but it is still a wear item. Short runtime, swelling, erratic charge readings, or a hot case are signs to stop using it.
For ONSRA riders, using model-specific replacement parts protects the tuned relationship between the remote, ESC, and board setup. That is especially valuable on performance-oriented builds where control precision is part of what makes the ride feel planted and predictable.
A Replacement Remote Is a Safety Component
It is tempting to treat a remote like an accessory. It is closer to a brake lever, throttle, and dashboard combined. Buy the correct part, pair it carefully, and test it where a mistake has no consequences. The first confident pull out of a corner should come after you have earned trust in every input.
Electric Bike vs Eskate Commute - Which Fits?
Electric Skateboard Wheel Upgrades That Matter