
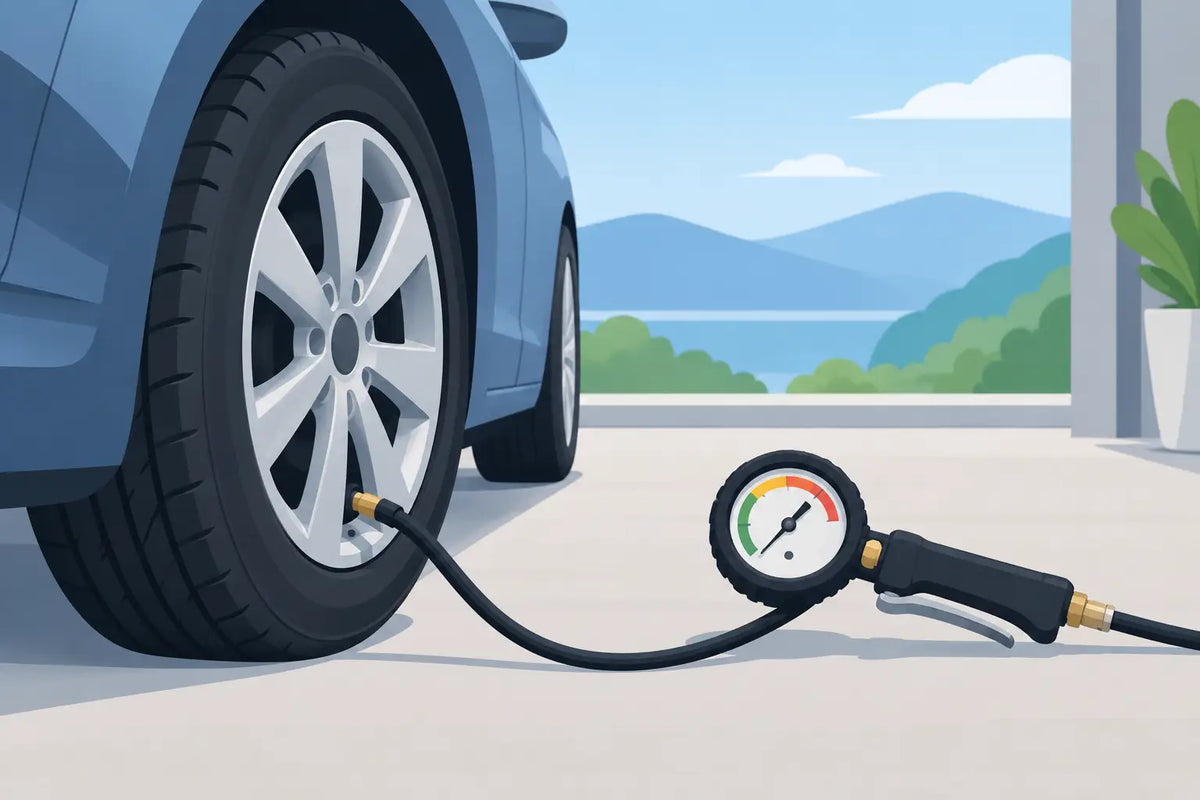
A few PSI can change the entire character of a ride. Your board or e-bike can feel planted and precise, or nervous, harsh, and slow. Knowing how to set tire pressure gives you direct control over grip, range, comfort, braking confidence, and tire life - especially when you ride fast, carry gear, or move between smooth pavement and rough terrain.
Tire pressure is not a set-it-and-forget-it number. The right pressure depends on your vehicle, tire construction, rider weight, payload, speed, surface, and riding style. Start with the manufacturer’s stated range, then make controlled adjustments instead of guessing.
Start With the Tire and Vehicle Limits
Before reaching for a pump, inspect the sidewall of the tire. It typically lists a recommended pressure range or a maximum PSI rating. Your vehicle manual may also specify a range that accounts for the rim, tube, tubeless setup, motor load, and intended use. Both matter.
Treat the tire sidewall maximum as a hard ceiling, not a target. Running at the maximum pressure does not automatically make a ride better. It can reduce rolling resistance on clean pavement, but it also makes the tire less compliant over cracks, gravel, and uneven road surfaces. On an electric skateboard, excessive pressure can make high-speed vibration more noticeable and reduce the tire’s ability to track through imperfect pavement.
Do not go below the manufacturer’s minimum recommendation either. Very low pressure increases the chance of pinch flats with inner tubes, sidewall damage, rim strikes, tire bead problems, and vague handling. The faster and harder you ride, the less room there is for an overly soft setup.
How to Set Tire Pressure Accurately
A quality gauge is more useful than relying on the gauge built into a basic hand pump. Small differences matter on compact pneumatic tires, so use a gauge that reads in 0.5 or 1 PSI increments if possible. A floor pump with a stable hose makes the job easier, while a compact pump is worth carrying for longer rides.
Check pressure when the tires are cold. That means before riding, ideally after the vehicle has been parked for several hours. Tires heat up as they flex and roll, which raises the pressure reading. If you check immediately after a hard ride, you may think the tire is overinflated when it is simply warm.
Remove the valve cap, press the gauge squarely onto the valve stem, and read the pressure. Add air in short bursts rather than overfilling. If you overshoot, bleed air out a little at a time and recheck. Replace the valve cap when finished. It keeps dirt and moisture out of the valve core, which is a small detail that helps prevent slow leaks.
For a pneumatic ONSRA board or any performance-focused electric ride, check both tires before a serious session. A pressure mismatch between the front and rear can affect stability, braking feel, and how the vehicle enters a turn.
Find Your Baseline Before You Tune
The manufacturer’s recommended range is your starting point. Begin around the middle of that range, then take a familiar route at a normal pace. Pay attention to how the tires behave under acceleration, braking, cornering, and impacts.
If the ride feels sharp, skittish, or excessively harsh over seams and broken pavement, drop pressure by 2 to 3 PSI and test again. If the tires feel slow, unstable, or overly squirmy in corners, add 2 to 3 PSI. Make one change at a time. A tire setup is easier to understand when you adjust with purpose instead of changing several variables at once.
For most riders, the best setting is not the one that feels fastest in a parking lot. It is the setting that maintains predictable grip and steering after an hour of real use, when the route includes cracked asphalt, transitions, crosswalk paint, and occasional debris.
Adjust for Rider Weight, Load, and Terrain
A heavier rider or a rider carrying a backpack, cargo, or commuting equipment generally needs more pressure than a lighter rider using the same tire. The extra load compresses the tire more, increasing the risk of bottoming out on potholes or curbs. Add pressure gradually while staying within the approved range.
Terrain changes the equation as well. Smooth pavement favors the higher end of the range because the tire deforms less and rolls more efficiently. This can support range and sharper handling. Rough pavement, hard-packed dirt, and broken urban streets usually reward a slightly lower setting. The tire can conform to the surface instead of skipping across it, which improves comfort and mechanical grip.
Wet riding deserves extra care. Lowering pressure slightly within the approved range can help a pneumatic tire maintain contact over uneven surfaces, but it does not make wet pavement safe at high speed. Painted lines, metal covers, leaves, loose gravel, and standing water can all reduce traction abruptly. Tire pressure helps tune the contact patch; it cannot overcome poor surface conditions.
Front and Rear Pressure: When They Should Differ
Many electric skateboards use the same pressure front and rear, especially when the rider’s stance and the vehicle’s design distribute load relatively evenly. Start there unless your manual says otherwise.
On an e-bike, rear pressure is often higher because the rear wheel carries more rider weight and may also support a hub motor, rack, cargo, or battery weight. A small front-to-rear difference can preserve steering grip while preventing the rear tire from feeling soft under acceleration. The correct split depends on the bike’s tire size, frame layout, total load, and stated pressure limits.
Avoid dramatic front-to-rear differences without a specific reason. An underinflated front tire can feel vague in turns, while an overly hard rear tire can lose traction under braking or skip over rough corners. Performance comes from balance, not extremes.
Know the Signs of Incorrect Pressure
Your ride will usually tell you when the pressure is wrong. An overinflated tire feels hard and transmits every crack through the deck, handlebars, or pedals. It may chatter across rough pavement, lose traction on uneven turns, and wear more heavily through the center of the tread.
An underinflated tire can feel sluggish and unstable. You may notice excessive tire flex in turns, increased motor effort, reduced range, or a dull response during acceleration. The tire may also show wear toward the outer shoulders. On tube-type setups, repeated hard impacts at low PSI raise the risk of a pinch flat.
Pressure loss over time is normal. Even a healthy tire can lose a few PSI over several weeks, especially with temperature swings. A tire that repeatedly drops pressure over a day or two needs attention. Check the valve core, inspect the tread and sidewall for punctures, and look for damage around the rim or bead.
Build Pressure Checks Into Your Pre-Ride Routine
Make tire pressure part of the same routine as checking battery charge, brakes, hardware, lights, and protective gear. For frequent riders, a quick visual and squeeze check before every ride is useful, but use a gauge at least weekly. Check more often if you ride aggressively, use pneumatic tires off-road, hit rough city streets, or have recently installed new tires or tubes.
Temperature deserves special attention. Cold weather lowers tire pressure, while hot weather raises it. A tire set near its maximum in a cool garage can climb higher after sitting in direct sun or running hard on hot pavement. Set pressure conservatively within the approved range and recheck when conditions change significantly.
The best tire pressure is the one that lets your setup work as engineered while matching the ground beneath you. Start within spec, test with discipline, and record the PSI that gives you confident control. That small habit pays back every time the road gets rough, the pace picks up, or your ride demands more than a casual roll around the block.
What Is an ESC Electric Skateboard Controller?
Ebike Theft Prevention That Actually Works