
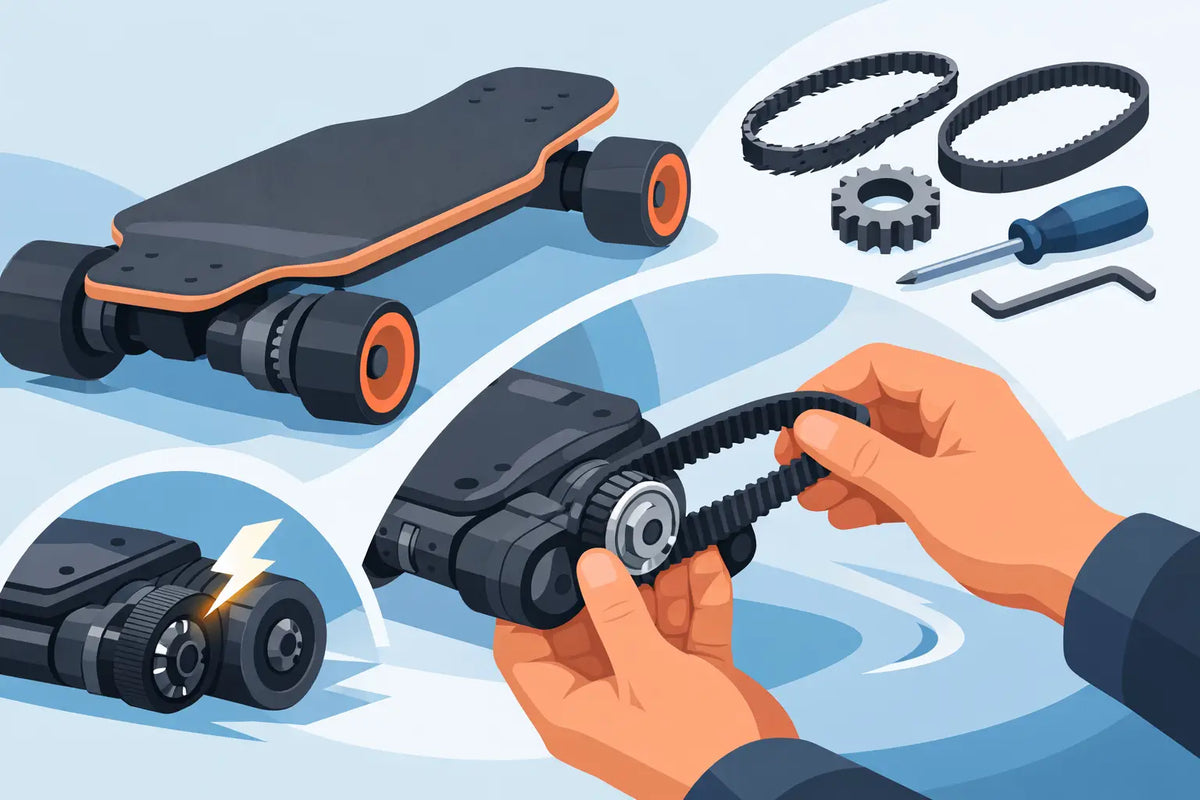
A belt that chirps under throttle, skips during a hard carve, or leaves black dust inside the drive cover is not asking for more power. It is telling you the drivetrain needs attention. Knowing how to replace eskate belts correctly keeps power delivery sharp, protects your pulleys, and prevents a small wear item from turning into a stranded ride.
On a belt-drive electric skateboard, the belts transfer motor torque to the wheels. They take every launch, hill climb, brake event, and burst of acceleration. They are designed to be serviceable, but replacement is not simply a matter of fitting new rubber. Belt pitch, tooth count, pulley alignment, and tension all matter.
When Eskate Belts Need Replacement
Inspect belts before every serious ride and after wet, dusty, or aggressive terrain. A healthy belt has clearly defined teeth, an even surface, and no fraying along the edges. It should run quietly with no clicking or wandering across the pulley.
Replace a belt immediately if teeth are missing, the belt is cracked, its edges are separating, or it has stretched enough that proper tension is no longer possible. A sharp rock strike can also cut a belt without fully snapping it. If you see a deep nick, do not wait for it to fail under acceleration.
Squealing does not always mean a belt is worn out. It can indicate a loose belt, contamination on the pulleys, or a misaligned motor mount. On the other hand, a belt that feels overly tight can wear motor bearings, reduce drivetrain efficiency, and create unnecessary rolling resistance. Diagnosis comes before adjustment.
For a dual-drive board, inspect and generally replace belts as a pair. One older, stretched belt and one fresh belt can produce uneven tension and inconsistent load across the drivetrain. Carrying one compatible spare belt on longer rides is still smart insurance.
What You Need Before Replacing Eskate Belts
Confirm the exact belt specification before ordering or opening the drive system. The part number usually identifies the belt pitch, width, and tooth count. A belt that looks close is not necessarily compatible. Even a small difference in pitch can damage pulley teeth or slip under load.
You will normally need the following:
- The correct replacement belt or matched pair
- The hex keys required for your motor mount and drive cover hardware
- A clean cloth and a soft brush
- Threadlocker if the manufacturer specifies it for motor-mount hardware
Avoid spraying lubricant on belts or pulleys. Belt drives are meant to run dry. Oil, grease, and silicone sprays attract grit and can make a slipping belt worse.
How to Replace Eskate Belts Step by Step
1. Remove the wheel and drive cover if fitted
Start with the side you are servicing. Remove the wheel hardware and set the washers, spacers, and axle nut in order so they return to the same positions. On many setups, removing the wheel gives you clear access to the wheel pulley and belt.
If your board uses a drive cover or guard, remove it carefully. Inspect the inside of the cover. Fine black dust is normal over time, but chunks of belt material, gravel, or metal shavings point to a problem worth investigating.
2. Release motor tension
Loosen the motor-mount bolts just enough for the motor to move in its slots. Do not remove the bolts unless the design requires it. Slide or rotate the motor toward the wheel pulley to create slack in the old belt.
Take note of how the belt tracked across both pulleys before removal. If it was riding hard against one flange, the original issue may be pulley alignment rather than belt age. Replacing the belt without correcting alignment will wear out the new one quickly.
3. Remove the old belt and inspect the pulleys
Slip the old belt off the motor pulley and then the wheel pulley. Do not pry it off with a screwdriver or sharp tool. That can damage pulley teeth and scar the motor mount.
Brush dirt from the pulley teeth and inspect them under good light. Look for hooked, chipped, or polished teeth. A damaged pulley can chew through new belts, especially on high-torque setups. Rotate the wheel pulley and motor pulley by hand. They should spin smoothly without obvious wobble or grinding.
Also check that pulley set screws, where used, are secure and correctly seated against the motor shaft flat. A loose motor pulley can mimic belt slip and can cause serious drivetrain damage if ignored.
4. Install the new belt
Fit the belt around the wheel pulley first, then loop it onto the motor pulley. Confirm that every belt tooth seats cleanly in the pulley grooves. The belt should not be twisted, pinched, or riding on the pulley flange.
Move the motor away from the wheel pulley until the belt reaches the correct tension. Tighten the motor-mount bolts gradually, alternating between bolts so the motor stays square in the mount. If the mount uses threadlocker, apply only the amount specified for that hardware.
5. Set tension without overtightening
Correct tension is the part that separates a dependable drivetrain from a noisy, inefficient one. Press the belt midway between the two pulleys with moderate finger pressure. It should deflect slightly, not feel like a guitar string and not sag loosely.
Exact deflection depends on belt length, pulley size, motor-mount design, and manufacturer guidance. If your board has published tension specifications, follow those rather than relying only on feel. For performance boards with strong acceleration and regenerative braking, a touch too loose can skip under load. Too tight creates heat and bearing stress.
After tightening the mount, spin the wheel by hand. The belt should track centrally and rotate without tight spots. If tension changes noticeably once the wheel turns, check for pulley runout, an improperly seated wheel pulley, or motor-mount movement.
6. Reassemble and test progressively
Reinstall the drive cover, wheel, spacers, washers, and axle hardware in the correct order. Tighten axle hardware to the board's specified torque. Before riding, lift the driven wheels off the ground and apply very light throttle. Listen for clicking, rubbing, belt oscillation, or a pulley that visibly wobbles.
Your first ride should be a short, low-speed test on clean pavement. Build from gentle acceleration to firmer throttle and braking. Stop after a few minutes and check belt tracking and motor-mount bolts. New belts can settle during their first rides, particularly after repeated torque cycles.
Common Belt Replacement Mistakes
The most common mistake is fitting a belt with the wrong specification because its length appears similar. Use the exact pitch, width, and tooth count required by your drivetrain. A wider belt may not clear the pulley flanges, while a narrow one can walk sideways and wear unevenly.
Another mistake is setting tension while the motor is slightly crooked in its mount. The belt may feel correct when stationary but drift toward a flange as soon as the wheel rotates. Use the pulley faces as your visual reference. They should sit in the same plane, with the belt running straight between them.
Do not overtighten hardware to compensate for a slipping belt. If the motor mount keeps shifting, inspect the mount surfaces, bolt threads, and specified threadlocker procedure. If a belt skips only under hard acceleration, inspect the belt teeth and pulley teeth before simply adding more tension.
Riders who swap wheel sizes or pulley ratios should also revisit belt fitment. A different wheel pulley can require a different belt length, even if the motor and mount stay the same. This is where using drivetrain components engineered to work together matters. ONSRA replacement parts are designed around the specific geometry and performance demands of their compatible setups.
Keep the New Belts Performing
Belt life depends on terrain, rider weight, gearing, torque settings, weather, and maintenance. Street riding on clean pavement is easier on a drivetrain than gravel paths, wet roads, and repeated full-throttle hill launches. That is not a reason to ride cautiously. It is a reason to inspect the drivetrain like a performance component.
After rides in dust or moisture, wipe the visible belt surfaces and clean debris from the pulley teeth. Check tension periodically, especially after a new belt's first few sessions. Do not adjust a belt just because it makes a small amount of normal drivetrain noise. Adjust it when inspection, tracking, or under-load behavior tells you there is a real issue.
A properly fitted belt should disappear into the background: quiet, centered, and ready when you lean into the throttle. Give it that level of attention, and your board will deliver the direct, controlled response that makes a belt drive worth riding.
How to Pick Eskate Wheels for Every Ride
How to Pick Ebike Helmet for Real-World Riding